How to Use an Electric Chicken Rotisserie Oven Effectively?
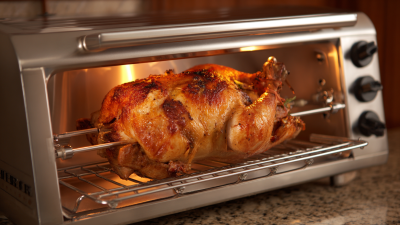
Cooking delicious rotisserie chicken at home is easier than you might think. With an Electric Chicken Rotisserie Oven, you can achieve perfect results with minimal effort. This innovative appliance is designed to evenly cook your chicken, ensuring crisp skin and juicy meat. It helps you master the art of rotisserie cooking, offering a convenient way to prepare meals that impress your family and friends.
However, using an Electric Chicken Rotisserie Oven effectively requires attention to detail. It involves understanding the right seasoning, temperature, and cooking time to avoid common mistakes. Learning how to properly load the chicken is crucial. Sometimes, it can be challenging to maintain balance. If not done correctly, the chicken may not cook uniformly.
Enjoying the benefits of this oven means you'll need to experiment and adjust. Each chicken is different, and factors like weight and size play a key role in cooking. Don't hesitate to learn from any mishaps along the way. The journey to perfect rotisserie chicken might have its bumps, but the results will be worth the effort.
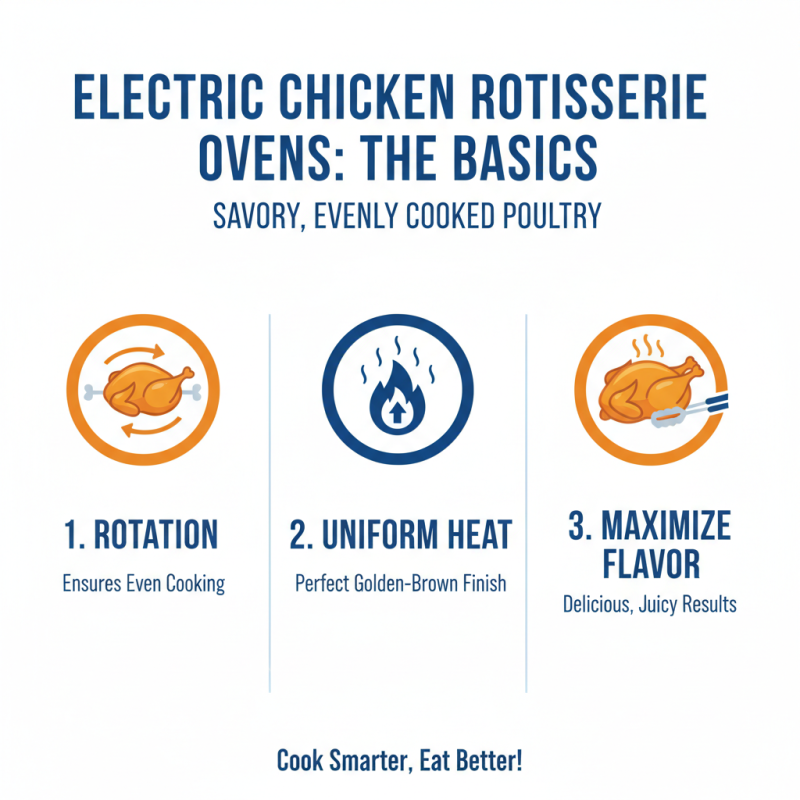
Understanding the Basics of Electric Chicken Rotisserie Ovens
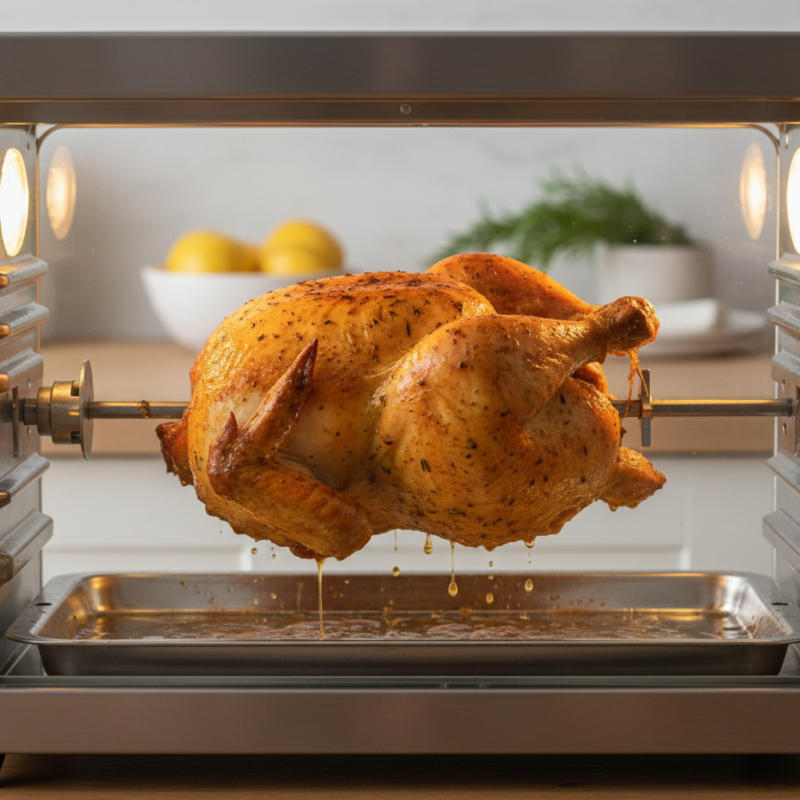
Electric chicken rotisserie ovens are a great tool for savory, evenly cooked poultry. Understanding their basics can maximize your cooking experience. These ovens work by rotating the chicken, ensuring that it cooks evenly on all sides. A uniform heat source is essential to achieving that perfect golden-brown finish.
When using an electric rotisserie, marinate your chicken beforehand. This adds flavor and moisture. Consider using a simple mixture of herbs and spices. Don't forget to secure the chicken tightly on the spit. Loose poultry may lead to uneven cooking—or even a little mess.
**Tip:** Always monitor the cooking time. Don’t rely solely on the timer. Check the internal temperature with a meat thermometer. Aim for 165°F for safe consumption. It's crucial to give the chicken time to rest after it’s done cooking. This helps retain those delicious juices.
Getting the hang of rotisserie cooking may take time. You might burn a few batches before perfection. Don't let these small failures discourage you. Each try teaches you something new about timing and spice combinations. Adjust as you go and enjoy the tasty journey!
Key Features to Look for in an Electric Rotisserie Oven
When considering an electric rotisserie oven, several key features can greatly enhance your cooking experience. Look for a model with adjustable temperature controls. This allows you to perfectly cook various meats. Different meats require specific temperatures for optimal results. Also, check if the oven has a timer. This ensures your food will not overcook. A built-in timer is a great safety feature.
Another important aspect is the cooking capacity. Choose an oven big enough for your needs. A larger size means you can cook more than one item at a time. Consider how many people you typically serve. It helps to plan ahead before making a purchase.
Don’t overlook ease of use. A straightforward interface is key. Complex controls can lead to mistakes. Also, consider the ease of cleaning. Removable parts can make cleanup easier. Many users struggle with this. Look for an oven with non-stick surfaces. It will simplify the process.
How to Use an Electric Chicken Rotisserie Oven Effectively? - Key Features to Look for in an Electric Rotisserie Oven
| Feature |
Description |
Importance |
| Size |
Should accommodate the size of the chicken or other meats you plan to cook. |
High |
| Rotisserie Function |
Ensures even cooking and proper basting. |
Very High |
| Heating Options |
Multiple heating elements for versatile cooking. |
Medium |
| Ease of Cleaning |
Removable parts and non-stick surfaces enhance maintenance. |
High |
| Temperature Control |
Precise control for different types of meats and recipes. |
Very High |
| Safety Features |
Cool-touch handles, automatic shut-off for safer operation. |
High |
Step-by-Step Guide to Preparing Chicken for Rotisserie Cooking
Preparing chicken for rotisserie cooking can be both fun and challenging. Start by selecting a fresh, whole chicken. Aim for a bird weighing around 3 to 4 pounds. Rinse it under cold water, and pat it dry with paper towels. This step is crucial. Moisture can prevent the skin from crisping up nicely.
Next, season the chicken generously. A simple mix of salt, pepper, and garlic powder works well. You can also experiment with herbs like thyme or rosemary, but don’t overdo it. When applying the seasoning, ensure it gets under the skin too. This adds flavor directly to the meat. Remember, seasoning is subjective. Some may prefer more spice, while others like it simple.
Now, truss the chicken. This means tying the legs and wings close to the body. It helps the bird cook evenly. If you're not careful, you might end up with unevenly cooked pieces. Attach the chicken to the rotisserie spit securely, ensuring it is balanced. After positioning it correctly in the oven, remember to monitor the cooking time. Cooking can take longer than expected. A meat thermometer can be a good guide. This is a learning curve; practice makes perfect.
Cooking Time vs. Chicken Weight for Rotisserie Cooking
Optimal Cooking Times and Temperatures for Different Chicken Cuts
Using an electric chicken rotisserie oven can transform your cooking experience. Cooking times and temperatures vary by cut. Here are some key guidelines.
For whole chickens, cook at 350°F for about 90 minutes. Use a meat thermometer. The internal temperature should reach 165°F for safety. For thighs and drumsticks, lower the heat to 325°F. They need about 75 minutes to cook thoroughly. This temperature allows the meat to become tender and juicy.
Tip: Always check for doneness a few minutes before the suggested time. Chicken can overcook quickly, leading to dryness.
Breasts are leaner, requiring less time. Roast them at 375°F for around 60 minutes. This helps maintain moisture.
Tip: Marinate or brine your chicken beforehand. This enhances flavor and juiciness.
Cooking times can vary depending on the oven and chicken size. Keep an eye on the clock, but also trust your instincts. It's okay to adjust times based on your observations for better results. Rotisserie cooking can be trial and error, but practice makes perfect.
Cleaning and Maintenance Tips for Longevity of Your Rotisserie Oven
Cleaning and maintaining your electric chicken rotisserie oven is essential for its longevity and optimal performance. After each use, allow the oven to cool completely. Remove the grease tray and wash it with warm, soapy water. Rinse it well and let it dry. You can use a soft sponge to clean the interior surfaces, avoiding harsh chemicals that might damage the oven’s finish.
Tips: Make it a habit to wipe down the door and exterior after every use. This prevents any buildup that may occur over time. Ideally, a thorough cleaning should be done at least once a month.
Occasionally, check for any residue in hard-to-reach areas. Use a soft brush or a cloth to clean these spots. Remember, neglecting these tiny spaces can lead to unpleasant odors. While you may wish to skip a few cleanings, long-term neglect can create bigger issues. Regular maintenance pays off in the end.